Are you frustrated by Z banding in your 3D prints? Do you want to know what causes this annoying defect and how to fix it? If so, you’ve come to the right place!

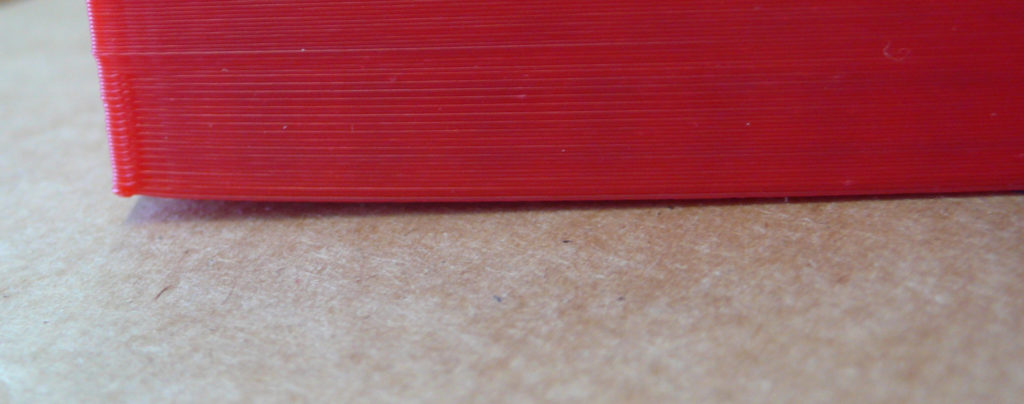
Z banding, also known as Z wobble, is a common problem in FDM 3D printing that results in horizontal ridges or bulges on the sides of your printed objects. It can ruin the appearance and accuracy of your prints, and make them weaker and more prone to cracking. In a nutshell, your printer is moving when you don’t expect it to or want it to and you need to figure out why.

Z banding is caused by several factors that affect the movement of the Z axis, which controls the vertical position of the print head. Some of these factors are:

  • Misaligned or bent Z axis rods or lead screws
  • Loose or worn out couplers, bearings or rails
  • Inconsistent bed temperature or PID settings
  • Microstepping errors in the stepper motor drivers
  • Improper layer height settings

Fortunately, there are some simple ways to prevent or reduce Z banding in your 3D prints. Here are some tips that you can try:

  • Check and adjust the alignment of your Z axis rods or lead screws. Make sure they are parallel to each other and perpendicular to the print bed. Use a spirit level or a digital caliper to measure the distance between them at different points. If they are bent, replace them with new ones.
  • Tighten or replace any loose or worn out parts that connect the Z axis rods or lead screws to the stepper motors, such as couplers, bearings or rails. Make sure they are not too tight or too loose, as this can cause binding or backlash.
  • Enable a consistent bed temperature throughout your print by using PID tuning or setting a fixed temperature in your slicer. Avoid using auto bed leveling sensors that can introduce temperature fluctuations.
  • Use half or full step layer heights that match your Z axis pitch and avoid microstepping errors. For example, if your Z axis pitch is 8 mm and you have a 200 steps per revolution stepper motor, use layer heights that are multiples of 0.04 mm (8 / 200).
  • Stabilize your Z axis rods or lead screws by adding supports or braces at the top and bottom ends. This can prevent them from wobbling or vibrating during printing.

I saw a user in a forum asking for help with bridging. They were trying to create a large print that had many bridging features that were intended to be straight across and ended up being droopy.

When someone asked what they had done already, they responded with “I slowed down my speed to help the bridging out.” In most cases, this is the opposite of what needs to happen. If my print has a lot of bridging features I typically speed it up. If you think about the mechanics of what is happening here, heat is being applied the entire time that your nozzle is extruding. So, the longer something takes with heat being applied to it, the more it will sag as a result.

When working with a bed level, sometimes you find that your bed is level but it is not flat. Mine, for example, is raised in the center. Because of this, it is impossible to use a standard bed level procedure. You need to use a mesh bed level. This feature doesn’t come enabled on all printers, I had to update my firmware to be able to do a mesh bed level. How a mesh bed level works is it breaks the bed down into smaller “tiles.” On mine, the tiles are approximately 60mm x 60mm. This allows the compensation to follow the contour of the bed instead of assuming that the bed is perfectly flat. As I always say, don’t try to solve a mechanical problem with software. Level your bed first, as best as you can. Then incorporate the mesh bed level. Make sure that you heat up your bed for 15-30 minutes before you do the mesh bed level so that your bed will take the shape it will be in while printing. Store your bed level profile and make sure that you activate it before you start printing. I typically do a new mesh bed level in the summer, in the winter, and anytime that something significant changes on my printer.

So, what’s a good amount of deviation for a mesh bed level? A good general rule of thumb is 0.1mm. If you can get your deviation at 0.1mm or better, then (for hobby purposes) you are doing pretty good.

I hear a lot of people that have difficulty with their prints curling off of the bed. This can be caused by a number of different things, which I will outline below:

  • The most common problem is that the bed is not clean. The solution to this is also simple. Clean the bed. I use isopropyl alcohol with a lint free cloth before and after every print.
  • Another common problem is that the nozzle is too near or too far from the bed and the filament doesn’t stick properly, then over time it pulls away from the bed. If this is the case, then you need to level the bed. It could also be that your bed itself is warped, in which case I usually recommend that people look into a mesh bed level.
  • Temperature is another important aspect to making sure that your prints don’t warp. During the winter, I use an enclosure to ensure that the temperature around my printer is stable. For the first 2-3 layers, I also raise the bed temperature and the nozzle temperature by about 5 degrees and turn off any cooling.
  • Speaking of cooling, too much cooling can also warp your print. Adjust your fan settings so that it doesn’t cool too fast and warp.

Something to consider. I see many people giving the advice of adding painter’s tape or glue onto their bed to make the filament stick better. This is only my personal opinion, but I believe that this masks any real issues that your machine may have. I believe that it’s far better to fully understand the mechanics of the root cause of the warping and address that, rather than just adding some glue and hoping for the best.