3D printing, also known as additive manufacturing, is a process of creating three-dimensional objects from digital models by depositing layers of material on top of each other. 3D printing has been around for decades, but it has gained popularity and accessibility in recent years due to advances in technology, materials, and software.

3D printing is not just a hobby or a novelty. It is a revolutionary field that has the potential to transform many industries and sectors, such as healthcare, education, engineering, art, and more. I want to take a moment and share some of the amazing things that people are doing with 3d printing.

  • Healthcare: 3D printing can be used to create customized medical devices, implants, prosthetics, and even organs. For example, researchers at Wake Forest Institute for Regenerative Medicine have successfully printed human skin, cartilage, bone, and muscle tissue using bioprinters that deposit living cells and biomaterials. These printed tissues can be used for transplantation, drug testing, or wound healing.
  • Education: 3D printing can be used to enhance learning and teaching by providing hands-on and interactive experiences for students and teachers. For example, students can print models of historical artifacts, scientific concepts, or mathematical shapes to explore and understand them better. Teachers can also use 3D printing to create customized and engaging curriculum materials and tools.
  • Engineering: 3D printing can be used to design and prototype new products, machines, and structures faster and cheaper than traditional methods. For example, engineers at NASA have used 3D printing to create rocket engine parts, satellites, and even habitats for Mars. 3D printing can also enable more complex and innovative designs that are not possible with conventional manufacturing techniques.
  • Art: 3D printing can be used to create unique and expressive artworks that challenge the boundaries of creativity and aesthetics. For example, artists can use 3D printing to create sculptures, jewelry, fashion, or even musical instruments that combine different materials, colors, textures, and shapes. 3D printing can also allow artists to collaborate and share their work with others online.

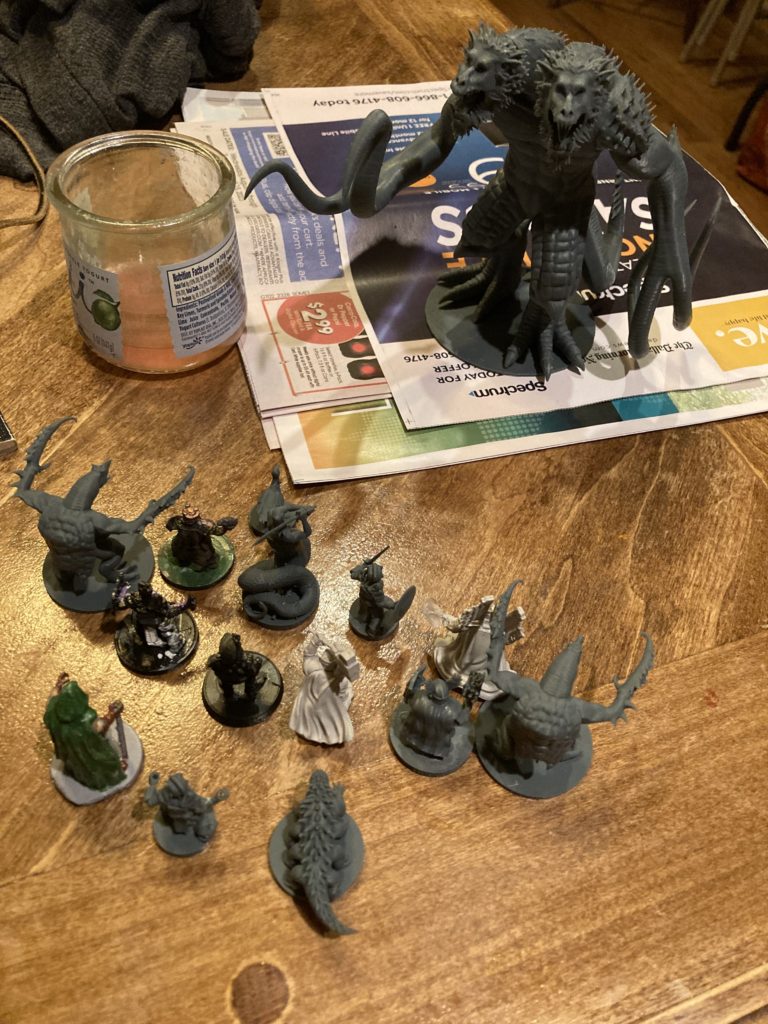
These are just some of the examples of how 3D printing is changing the world and I’m humbled to be a part of it. I love that my kids can ask for a DnD character and have it in their hands that very same day. I love that I can tell my boys to design an adapter plate for our fence and they can iterate through the design process quickly.

If you have ever experienced a clogged nozzle or a jammed extruder on your 3D printer, you know how frustrating it can be. One of the possible causes of this problem is burnt filament stuck in the heatbreak, the thin metal tube that connects the hotend and the cold end of the extruder.

The first thing you need to do is to remove the nozzle from the hotend. You can do this by heating up the nozzle to about 200°C and using a wrench to unscrew it.

Next, you need to remove the heatbreak from the cold end. Depending on your extruder design, you may need to unscrew some screws or bolts, or loosen some clamps or springs. You can also mark the orientation of the heatbreak before removing it, so you can reassemble it correctly later.

Now, you have the heatbreak in your hand. You can inspect it and see if there is any burnt filament inside. Burnt filament usually looks dark brown or black, and may have a charred smell. If you see any signs of burnt filament, you need to clear it out.

There are two main methods to clear burnt filament out of a heatbreak: using heat or using mechanical force. Using heat means heating up the heatbreak and melting the burnt filament out. Using mechanical force means pushing or pulling the burnt filament out with a tool.

Using heat is easier and safer, but it may take longer and require more equipment. You can use a heat gun, a soldering iron, a blowtorch, or even your hotend to heat up the heatbreak. You need to heat it up to a temperature higher than the melting point of the filament, but lower than the melting point of the metal. For example, if you are using PLA filament, you can heat it up to about 220°C, but not higher than 660°C, which is the melting point of aluminum.

Once the heatbreak is hot enough, you can use a pair of tweezers or pliers to hold it and gently tap it on a hard surface, such as a metal plate or a ceramic tile. This will cause the melted filament to drip out of the heatbreak. You can also use a thin wire or a needle to poke through the heatbreak and push out any remaining filament. Be careful not to scratch or bend the heatbreak.

Using mechanical force is faster and simpler, but it may be more risky and less effective. You can use a drill bit, a hex key, a screwdriver, or any other tool that fits inside the heatbreak. You need to insert the tool into the heatbreak and twist it or push it until the burnt filament comes out. You can also use a hammer or a vise to apply more force if needed. Be careful not to break or deform the heatbreak.

After clearing out the burnt filament, you need to clean the heatbreak thoroughly. You can use some acetone, alcohol, or water to wipe off any residue or dust. You can also use some compressed air or a vacuum cleaner to blow out any particles. Make sure the heatbreak is dry and shiny before reassembling it.

Finally, you need to reassemble the extruder and reinstall the nozzle.

TPU is a flexible filament that can produce amazing prints, but it also requires some special settings and adjustments to print well. One of the most important factors is the tension of the extruder, which affects how well the filament is fed into the hotend and how much pressure is applied to it.

The tension knob is a small screw or dial that controls how tight or loose the spring that presses the idler bearing against the filament is. If the tension is too high, the filament can get crushed or deformed by the idler, causing jams, underextrusion, or poor quality prints. If the tension is too low, the filament can slip or skip in the extruder, causing overextrusion, stringing, or blobs.

To adjust the tension knob properly for TPU, you need to find a balance between enough grip and enough flexibility. Here are some steps to follow:

  1. Load the TPU filament into the extruder and preheat the hotend to the recommended temperature for your brand of TPU.
  2. Start with a low tension setting, such as turning the knob counterclockwise until it stops or loosening the screw until it is barely touching the spring.
  3. Print a test cube or a calibration pattern and observe how the filament behaves in the extruder. Look for signs of slipping, skipping, or grinding.
  4. If you notice any of these problems, increase the tension slightly by turning the knob clockwise or tightening the screw a bit. Repeat step 3 until you find a setting that eliminates these issues.
  5. Check the quality of your print and look for signs of overextrusion, underextrusion, stringing, or blobs. Adjust the tension accordingly until you get a smooth and consistent extrusion.
  6. Remember that different brands and colors of TPU may require different tension settings, so you may need to tweak them for each spool you use.

Silk PLA is a type of PLA filament that has been blended with additional polymers to give it a glossy, matte-like look. It is also more flexible than standard PLA, which can affect its printability and performance. Here are some considerations and adjustments you need to make when switching to silk PLA filament that contains TPU, such as silk PLA.

Print Temperature

Silk PLA filaments usually have a similar print temperature range as regular PLA, which is around 180 to 220°C. However, the exact temperature may vary depending on the brand and the amount of polymer added to the blend. You may need to experiment with different temperatures to find the optimal one for your silk PLA filament. A good way to do this is to print a temperature tower and see which layer has the best quality and adhesion.

Print Speed

Silk PLA filaments can be printed at a similar speed as regular PLA, which is around 30 to 80 mm/s. However, you may want to slow down your print speed if you encounter clogging or stringing issues, as silk PLA can be more prone to these problems due to its flexibility and glossiness. You may also want to reduce your retraction distance and speed, as too much retraction can cause jamming or under-extrusion.

Heated Bed Temperature

Silk PLA filaments do not require a heated bed, as they have good adhesion to most surfaces. However, if you have a heated bed, you can use it at a low temperature of around 60 to 80°C to improve the first layer adhesion and prevent warping. You may also want to use a glue stick, hairspray, or blue tape to increase the bed adhesion and make it easier to remove the print.

Cooling Fan

Silk PLA filaments benefit from using a cooling fan, as it helps to improve the layer cooling and prevent sagging or drooping of the overhangs and bridges. You can use your cooling fan at full speed or adjust it according to your print quality and settings. However, you may want to turn off your cooling fan for the first few layers to ensure good bed adhesion.

Post-Processing

Silk PLA filaments produce prints that have a shiny and smooth surface, which makes them ideal for decorative items or models. You may not need any post-processing for your silk PLA prints, as they already look polished and attractive. However, if you want to improve the appearance or durability of your prints, you can use some post-processing methods such as sanding, painting, or coating. You can also use a heat gun or a hair dryer to smooth out any imperfections or stringing on your prints.

“Dad, I need a demigorgon.”

“A what?” I asked.

“A demigorgon, for my DnD campaign.”

“Ok, let’s find a model for one and we’ll make one.”

After a bit of Googling and searching on designer’s sites, we were able to find an stl file for a demigorgon. By the way, if you need dnd stls, try https://www.shapeways.com/shops/dmworkshop. He has about the most complete collection of files that I was able to find.

This is what I love about 3d printing. When my son needs a demigorgon I can make him one. Now he can have a demigorgon for his dnd campaign instead of having to use a nickel for a placeholder.

The good townfolks below are getting ready to faceoff against the demigorgon, but I’m not sure who will win.

Print failure because of nozzle temperature error. Diagnose nozzle. PID tuning. Everything looks fine. I thought I had PID tuned but I must not have. Print a part. Print failure because of nozzle temperature error. Ugh, here we go again. Wash, rinse, repeat.

It turned out to be that my extruder JST connector was loose in the printhead. It was snug enough that the nozzle would be hold its temperature stable while it was sitting still. But, as soon as it started moving the connector would become disconnected at times and create problems for the nozzle to hold its temperature steady. What a pain.

Simple fix, though. Just push the connector back in place. Make checking your connections a part of your monthly maintenance routine.

A thermistor is a device that measures and controls the temperature of your 3D printer’s hot end and heated bed. It is a vital component for successful 3D printing, as it ensures that your printer operates at the optimal temperature for your chosen filament.

However, thermistors are also fragile and prone to damage or malfunction. A bad thermistor can cause a variety of problems, such as inaccurate temperature readings, thermal runaway, print errors, and poor print quality.

How to Diagnose a Bad Thermistor on a 3D Printer

There are several ways to check if your thermistor is working properly or not. Here are some of the most common methods:

  • Use a multimeter. A multimeter is a device that can measure the resistance of your thermistor. You can use it to compare the resistance value of your thermistor with the expected value from the manufacturer’s specifications or a resistance-temperature table. If the values are significantly different, your thermistor may be faulty.
  • Use a diagnostic test. Some 3D printers have built-in diagnostic tests that can check the functionality of your thermistor. You can access these tests from your printer’s menu or software. If the test fails or shows an error code, your thermistor may be faulty.
  • Look for symptoms. A bad thermistor can also cause some noticeable symptoms that affect your printing process. Some of these symptoms are:
  • Thermal runaway. This is when your printer’s temperature goes out of control and exceeds the safety limit. This can damage your printer or even cause a fire. Thermal runaway can happen if your thermistor is loose, broken, or shorted.
  • Higher than usual print temperatures. If your printer requires a higher temperature than the recommended one to extrude your filament, your thermistor may be faulty. This can result in over-extrusion, stringing, oozing, or blobbing.

What to Do About a Bad Thermistor on a 3D Printer

If you suspect that your thermistor is bad, you should replace it as soon as possible.Here are some general guidelines:

  • Replacing the thermistor on your hot end:
  • Turn off and unplug your printer.
  • Wait for the hot end to cool down completely.
  • Remove any filament from the extruder.
  • Remove any fan shrouds or covers that block access to the hot end.
  • Locate the thermistor on the hot end. It is usually a small cylinder with two wires attached to it.
  • Carefully disconnect the wires from the thermistor. You may need to cut them or use a screwdriver to loosen them.
  • Remove the old thermistor from the hot end. You may need to unscrew it or pull it out gently.
  • Insert the new thermistor into the hot end. Make sure it fits snugly and securely.
  • Connect the wires from the new thermistor to the wiring on your printer. Make sure they match the polarity and color coding of the old ones.
  • Reattach any fan shrouds or covers that you removed earlier.
  • Turn on and plug in your printer.
  • Calibrate your new thermistor using your printer’s menu or software.

From time to time, people ask me “what should I upgrade on my 3d printer?”

My answer varies, but usually I ask them how long they’ve had it and been using it. If they just got it and are already looking to upgrade it, I usually encourage them to get to know the printer first before upgrading anything. Give it a few months and find out where the flaws are.

If they already had it for a while then we usually have a conversation about what is compelling them to want to upgrade? Are you just upgrading just to upgrade? Are you experiencing a specific problem that needs to be addressed? Did you just get some money for your birthday and just looking for something new to play with (it’s happened)? My response varies based on the answer. For me, I wanted to have greater control over the firmware settings without having to reflash the firmware each time I made a change. I wanted to increase my printing speed and really be able to optimize all of my settings. In my case, a shiny new extruder or fancy hotend would not have solved my issues. Upgrading to Klipper really made a huge difference in the problems that I was trying to solve.

One of the reasons why some 3D printer enthusiasts choose to upgrade from stock Marlin firmware to Klipper is the improved performance and accuracy of the printer. Klipper is a firmware that runs on a Raspberry Pi and communicates with the printer’s microcontroller via USB. This allows Klipper to offload the complex calculations and planning to the Pi, which has much more processing power and memory than the microcontroller. As a result, Klipper can achieve higher printing speeds, smoother movements, and better quality prints than Marlin. Klipper also has a simpler configuration system that uses a single text file instead of multiple header files. This makes it easier to customize and tweak the printer’s settings without having to recompile the firmware every time. Additionally, Klipper supports features that Marlin does not, such as pressure advance, input shaping, and automatic bed leveling with multiple probes.

What is FDM 3D Printing?

FDM 3D printing is a process that builds parts by extruding a melted plastic filament onto a build plate one layer at a time. The filament is fed through a heated nozzle that moves according to the part geometry. The plastic solidifies as it cools down and bonds with the previous layer. FDM 3D printing is the most well-known and widely used 3D printing technology, especially for hobbyists and makers.

What is DLP 3D Printing?

DLP 3D printing is a process that creates parts by curing a liquid photopolymer resin with a UV light source. The resin is contained in a vat with a transparent bottom, where a digital micromirror device (DMD) projects an image of the part cross-section onto the resin surface. The UV light hardens the resin in the exposed areas, forming a solid layer. The build platform then moves up and repeats the process until the part is complete. DLP 3D printing is a fast and high-resolution 3D printing technology, often used for dental, medical, and jewelry applications.

FDM vs DLP: Pros and Cons

FDM and DLP 3D printing have different strengths and weaknesses, depending on the application and requirements. Here are some of the main pros and cons of each technology:

FDM Pros

  • FDM printers are cheaper than DLP printers
  • FDM has a wider range of material colors and types, including flexible and composite filaments
  • FDM parts are stronger and more durable than DLP parts
  • FDM printers can produce larger prints than DLP printers

FDM Cons

  • FDM has a lower resolution and surface quality than DLP
  • FDM parts have weak interlayer adhesion and are prone to warping and cracking
  • FDM printers require more maintenance and calibration than DLP printers
  • FDM printing is slower than DLP printing

DLP Pros

  • DLP has a higher resolution and surface quality than FDM
  • DLP parts have isotropic properties and are more accurate than FDM parts
  • DLP printers require less maintenance and calibration than FDM printers
  • DLP printing is faster than FDM printing

DLP Cons

  • DLP printers are more expensive than FDM printers
  • DLP has a limited range of material colors and types, mostly transparent or translucent resins
  • DLP parts are brittle and sensitive to UV light degradation
  • DLP printers have a smaller build volume than FDM printers

Conclusion

FDM and DLP 3D printing are both useful technologies that can create different types of products. The choice between them depends on factors such as cost, speed, quality, strength, size, and material. For example, if you want to print a large prototype that requires some strength, you might prefer FDM over DLP. On the other hand, if you want to print a small model that requires high detail and accuracy, you might choose DLP over FDM.

3D printing is an amazing technology that allows you to create anything you can imagine. However, it is not always easy to get the perfect print. Sometimes, you may encounter problems such as stringing, warping, clogging, or under-extrusion. These problems can ruin your print quality and waste your time and filament.

Today, I would like to step out of the technical aspects of 3d printing and talk a little bit about more of a process. I want to demonstrate the process that I go through in taking a symptom, such as “my 3d print has a lot of stringing” or “my 3d print is coming off of the bed” and turn that into actionable troubleshooting steps. Granted, some of this is knowledge that comes with experience, and there just isn’t a way around that part of it.

Step 1: Identify the symptom

The first step is to identify the symptom that you are experiencing. For example, stringing is when thin strands of filament are left between different parts of your print. Warping is when the edges of your print curl up and detach from the bed. Clogging is when the nozzle gets blocked by melted filament and prevents extrusion. Under-extrusion is when the nozzle does not extrude enough filament and leaves gaps or holes in your print.

Step 2: Find the possible causes

The next step is to find the possible causes of your symptom. For example, stringing can be caused by high printing temperature, low retraction speed, or too much moisture in the filament. Warping can be caused by low bed temperature, poor bed adhesion, or large temperature differences between layers. Clogging can be caused by dirty nozzle, incompatible filament materials, or incorrect nozzle size. Under-extrusion can be caused by low printing temperature, low flow rate, or partial clogging. This step is done either by trial and error or research. I prefer research.

Step 3: Apply the solutions

The final step is to apply the solutions that can fix your problem. A solution is a method or action that can eliminate or reduce the cause of your symptom and improve your print quality. For example, to reduce stringing, you can lower your printing temperature, increase your retraction speed, or dry your filament before printing. To prevent warping, you can increase your bed temperature, use a raft or brim, or enclose your printer to maintain a stable temperature. To clear clogging, you can clean your nozzle with a needle or a wire brush, use compatible filament materials, or change your nozzle size. To avoid under-extrusion, you can increase your printing temperature, increase your flow rate, or check for partial clogging.