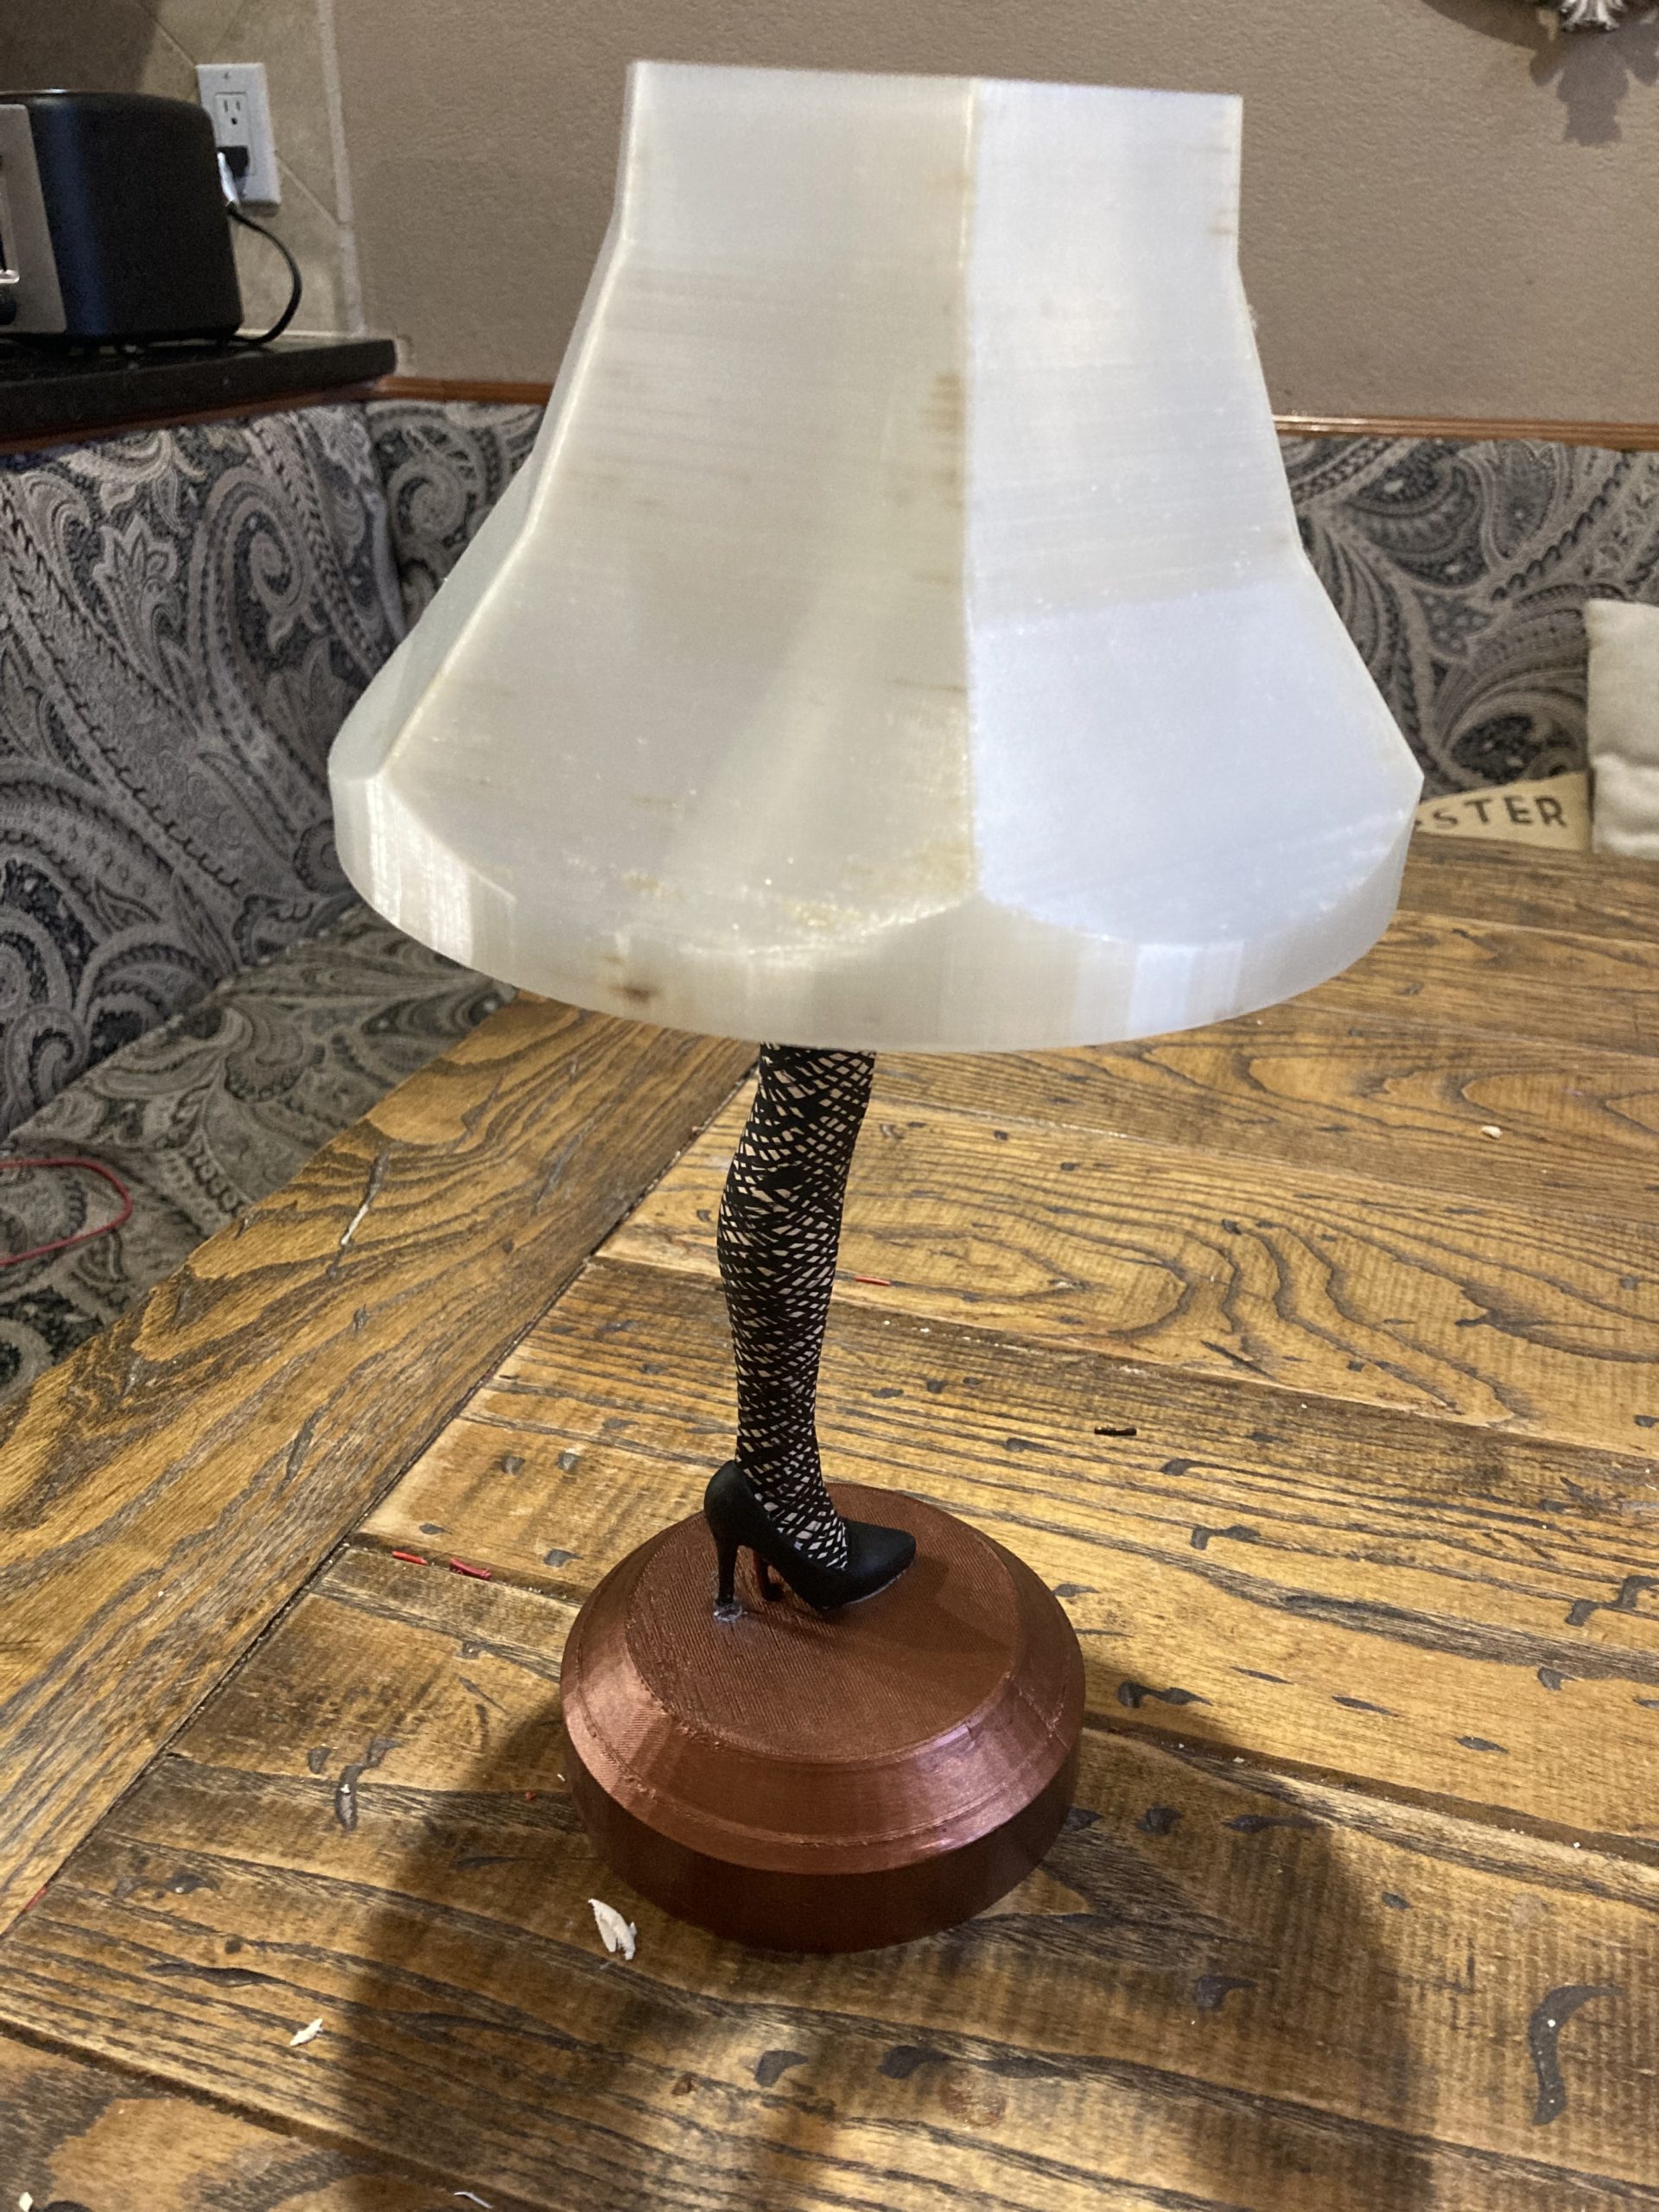
Supports can be tricky, at times. Make them too close and they fuse together with your print and are difficult to remove and leave a nasty surface finish. Make them too far from your print, and your print has nothing to build on. So, how close is close enough but not too close?

Run a tolerance test for your printer. You can find several parts to print that will help with this. Most are some type of widget that prints several different pieces with various gaps in between the parts. If your gap at .25mm is fused together on the tolerance test part, then your machine tolerance is about .25mm and you can’t expect it give you better accuracy than that. Going back to our supports, you can’t place supports closer than .25mm or they will fuse to the part.

To improve this, calibrate your machine.

At times, I get lost in the minutia of 3d printing. Dialing in the bed leveling, fixing my first layer and getting it just right, getting exactly the right PID and retraction settings.

Sometimes, it’s nice to just step back and remember what this hobby allows me to do. My brother-in-law is a big fan of “A Christmas Story.” He watches it every year several times and quotes the movie all year long. I thought it would be fun to make him the lamp from the movie, so I’ve been working on it and just finished it.


After trying to print a QR code over the weekend, I decided to tune in my retraction settings. Step 1, I printed a retraction tower. I printed a tower with different levels, with retraction distance set at 0mm, 2mm, 4mm, 6mm, 8mm, and 10mm.

2mm of retraction was a clear winner for my machine, so I decided to dial it in more. I printed another tower at 1mm, 1.5mm, 2mm, 2.5mm, 3mm, and 3.5mm. 2mm was again the clear winner for my machine, so next I decided to play with the retraction speed settings. Most source recommend a retraction speed of 35-40mm/s. I printed a retraction tower with speeds of 30mm/s, 35mm/s, 40mm/s, 45mm/s, 50mm/s, 55mm/s. 40 and 45 both looked pretty good so I printed another one that ranged from 39mm/s – 44mm/s.

Judging from the towers that I printed, my optimal settings are 2mm at 42mm/s.

My daughter makes handcrafted little dolls and sells them. We thought it would be fun to 3d print little boxes with her business information on them. As a part of the box, I designed a box lid that contains a QR code that people can scan that takes them to her online store.

It was more difficult than I, at first, thought it would be. Mainly, I didn’t realize my settings were so far off. The most important setting that I needed to tune were retraction settings. My retraction settings are “pretty good,” but in this case I needed them to be perfect. You see, the little nubs that are left on the parts get picked up by the camera and messes up the QR code, so I had to clean them all up by hand. Fortunately, I had the foresight to create the box in pieces, with the plan to glue the QR code to the rest of the box instead of creating it all at once. 

Learn from my mistake, run a retraction tower and update your settings. This should be done each time you change filament types.

The topic of first layer adhesion comes up often in 3d printing. Sometimes, the footprint of the part itself is not enough to keep the print stuck to the bed. I’ll go through some of the bed adhesion options below.

Priming Line: One of the main reasons for making an extrusion before you start on the part is to make sure that there is filament in the nozzle. A priming does this and nothing else. I don’t use this option much, but using a 50mm priming line accomplishes the purpose of filling up the nozzle.

Skirt: Your printer will create a quick circle all the way around the perimeter of the part. I use this option frequently. It accomplishes a couple of things for you.

  • A skirt fills the nozzle with filament
  • A skirt goes all the way around the perimeter of the part, confirming that your part will fit on the bed
  • By going all the way around the part, you also ensure that your bed level is accurate, just in case you have doubts about it

Brim: I use this option for tall, skinny parts. A brim is actually attached to the part, whereas a priming line or skirt are not. A brim provides more of a base for your part that is pretty easy to remove when you are done printing.

Raft: Every option is a compromise between robustness and printability. A raft leans heavily towards the robust side of the scale, but the cost is a longer print time and the fact that you will have to remove the raft from the print later. A raft creates a base for your print to build off of, rather than printing directly on the bed.

Someone asked how to change some settings halfway through a print. If you use Cura, this is pretty easy to do.

Cura is pretty powerful, right out of the box. It’s my go to software for print slicing. I’ve tried others, but I always come back to Cura because of the capability that it provides.

However, sometimes even Cura doesn’t have the functionality that’s needed. Thankfully, many people in the community have created different extensions that offer capability for the gaps in Cura’s capabilities.

One of these is the Post Processing Script extension. One of the options inside of the extension is to change a setting at a specific Z height. You have the ability to change speed, retraction settings, temperature, etc. If you haven’t experimented with it, it’s definitely worth checking out.

Someone on a forum had a question about why horizontal lines might be showing up on their 3d prints. Someone else suggested that maybe their infill was showing through and that increasing the number of walls from 2 to 3 thicknesses might fix it. That’s a good place to start and I thought that was the solution to the problem.

Well, it didn’t fix it. It turns out that they had to go through their whole 3d printer. Their z rod had just a little bit of play in it. Once they adjusted that, the horizontal lines went away.

Every once in a while, I am asked by someone about what their acceleration should be set at. My answer, as in so many cases, is “it varies.”

If you go too low, you won’t necessarily hurt anything, but your prints will take forever. If you set acceleration too high your belts will jerk abruptly each time the axis changes direction and you risk skipping teeth on the belts and getting layer shift.

I’ve run tuning test towers, and I know that my printer starts to have problems around 2,500 or 3,000 mm/s². It skips teeth and my layers end up all over the place.

Unless you want to do a tuning tower for each print (not practical) you are better off doing a little educated guessing based on what you are printing. 

For small, intricate, parts I set my acceleration low. Somewhere around 500 mm/s². For larger parts that don’t have a lot of detail, I might set at 2,000 or 2,500.

Maybe this is an unpopular opinion, but I don’t think it matters a whole lot for small parts. When you do a 3-point turn in your car, your acceleration doesn’t matter much. You are changing direction too frequently for it to even matter. I don’t have scientific data to back this up, but I would guess that it takes a Ferrari about the same amount of time to do a 3-point turn as my Dodge Dakota. If someone has a Ferrari they want to let me borrow to do that test, I’m game. The same is true on your 3d printer when you print small parts, so your acceleration doesn’t matter a whole lot.

I saw someone recently who was asking in a forum if they should incorporate BLTouch into their 3d printer. Their logic was that they didn’t know how to bed level.

I know it’s tempting, but don’t do it. In theory, it’s a great idea. Just get the probe to automatically do the bed leveling for you. But, in my experience, it’s never worked like that. The best option has always been to mechanically get everything as close as you can to perfect. Then use the software to fine tune that. The more the software has to compensate for, the more error you are going to have in your bed level, and in your prints.

Just to be clear, I’m not opposed to BLTouch, or any other automatic bed level devices. What I’m opposed to is the idea that you can somehow skip the effort of mechanically setting your bed level. 

As the temperature outside gets lower, I’m seeing an increased number of asking on forums why their prints aren’t sticking to the bed properly. In addition to all the normal reasons why your print might not stick to the bed, cold weather presents a few additional challenges.


For starters, most homes aren’t airtight and many have drafts. A sudden burst of unexpected cold air on your print can cause it to shrink away from the bed and lift off. 


Be careful of where you have placed your printer. Is it in front of a HVAC vent?


Your heater has to work harder to get up to temperature and maintain temperature. Make sure you have done your PID tuning and I usually increase my temperatures by a couple of degrees.


As a more generic principle, consider how you might be able to keep more heat in. I usually put my enclosure around my printer this time of year. It’s not terribly complicated and doesn’t need to be watertight. I found some brackets on Thingiverse and printed them, then connected them to make a frame with 2×2’s. I bought some acrylic and hinges to make a door and I have an enclosure. It’s not the most beautiful enclosure on the planet, but it works well enough.