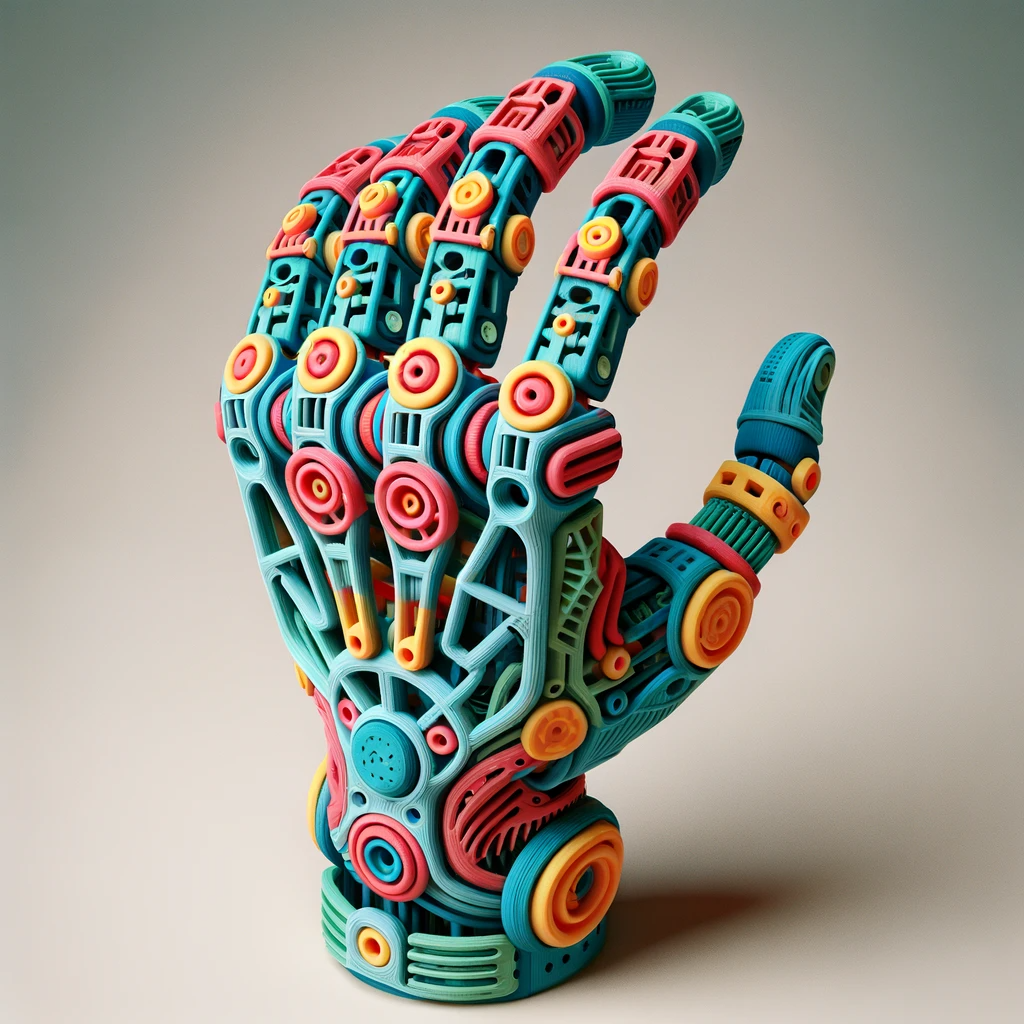
3D printing is a rewarding hobby, but it occasionally presents a challenge: how to remove a stubborn print from the bed. Whether it’s due to adhesion issues or a particularly intricate design, we’ll explore effective methods to safely and successfully free your creation.
Tools and Materials You’ll Need:
- A 3D Printer with a Stuck Print
- Spatula or Putty Knife
- Heat Gun or Hair Dryer (optional)
- Safety Gloves (recommended)
Step 1: Safety First
Before attempting to remove the print, ensure your 3D printer is turned off and cool to the touch. It’s also advisable to wear safety gloves to protect your hands during the process.
Step 2: Assess the Situation
Examine the stuck print carefully. Determine if it’s just adhered too well to the bed or if there are any critical features that might break during removal.
Step 3: Use a Spatula or Putty Knife
Gently slide a spatula or putty knife underneath the edge of the print. Start from a corner or an area where the print has lifted slightly. Be patient and avoid using excessive force, as this can damage the bed or the print.
Step 4: Apply Heat (if necessary)
If the print is especially stubborn, you can use a heat gun or hair dryer to warm the bed slightly. This softens the adhesive and makes it easier to lift the print. Keep the heat source moving and at a safe distance to avoid damaging the print or the printer.
Step 5: Gradually Lift
Continue to slide the spatula or putty knife underneath the print, gently lifting it as you go. Take your time, and don’t rush. If you encounter resistance, apply a bit more heat and try again.
Step 6: Remove Any Residue
Once the print is removed, you might have some residual adhesive or filament left on the bed. Use a soft cloth or a specialized adhesive remover to clean the bed thoroughly.
Step 7: Check for Damage
Inspect the print and the printer bed for any damage. If there are minor imperfections, they can often be repaired. If the damage is significant, consider replacing the print bed.
Removing a stuck 3D print from the bed can be a delicate process, but with the right tools and patience, it’s entirely manageable. The key is to approach it gently and gradually, ensuring that both the print and the printer bed remain in good condition.


